How to Build a DIY Gun Closet Rack for Easy Access
October 30, 2023 5 min read

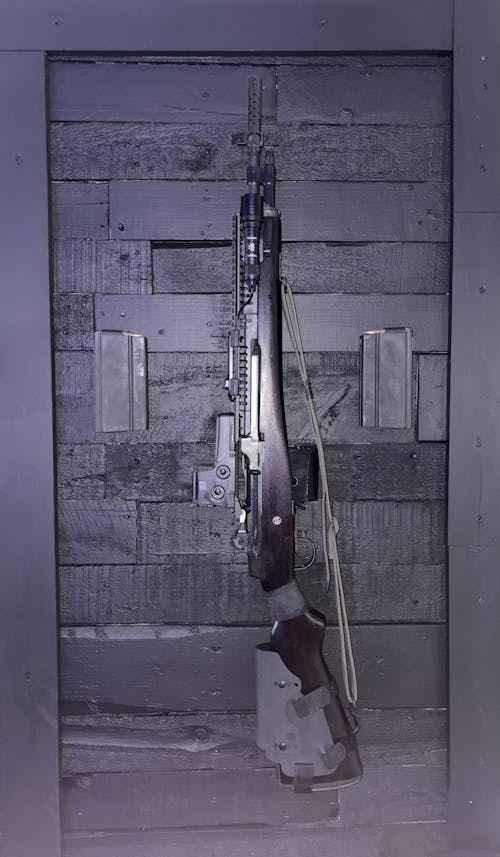
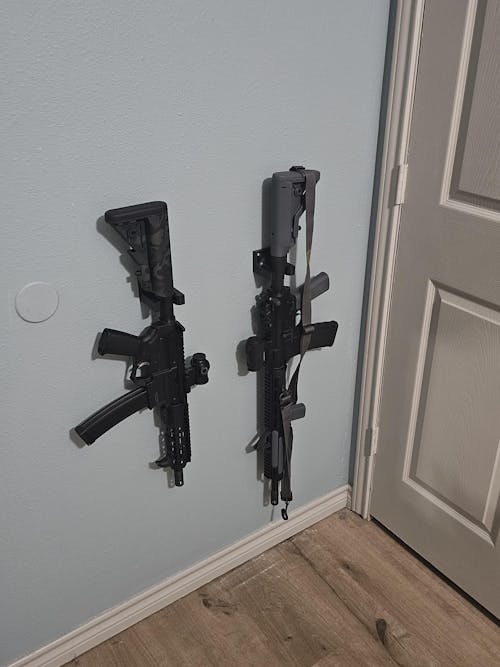
Want to build a dream gun wall or vertical rack gun storage, but you don't have the storage space for a full gun room or multiple gun safes? Consider making a custom gun closet storage display!
A gun rack or storage wall in your closet is a great solution for firearm storage. Many gun owners don't realize that you can build a custom firearm storage solution in most home closets, and with a few modifications, it can be just as safe as a gun cabinet, with the added benefit of being hidden in plain sight. You don't need a vault door or panic room to safely store your gun collection like you see in the movies, and you don't even need to build custom secret doors into your home
You don't need to build a safe room to mount your awesome collection. You can easily build a custom vertical gun rack for your closet no matter how small your home is. This is a great solution for safe, easy access storage, and it looks great too!
Below you will find a step-by-step guide for building your own closet door gun rack!
Why Install a Gun Rack in Your Closet?
Closet gun storage allows you to build a custom solution into a space in your home without having to invest in a gun safe or gun cabinet. You even have the option of turning your closet into a secret door for added security!
Storage in your closet is also a great way to keep your guns from getting damaged and help keep your firearms safe and secure from unauthorized access to them.
Steps to Build Custom Closet Gun Storage
Building custom gun storage in your closet is easy!
Step 1. Determine The Size and Location
First, to make a homemade gun rack, you need to decide where the gun rack will go. You can put your firearm storage on the back of the door, on the back wall using wall-mounted gun racks, or even build a custom slide-out panel. If you have a larger walk-in office or bedroom closet, you could even build a larger horizontal gun rack with additional vertical storage next to it.
Our closet doesn't have a lot of space so we chose to build ours on the back of the closet door for maximum utility without taking up floor space
If you happen to have a basement closet with concrete walls, this is an even more secure location that could be the best place for your pistols and long guns on a custom gun rack.
Step 2. Find a Design You Like
Next, you need to choose how you will build your gun storage. A simple option would be to mount your Spartan Mounts directly to the drywall inside the closet.
Another option would be to build a custom plywood panel or grid panels that you can screw your rifle mounts and pistol mounts to.
We chose to invest in Slatwall so that we could move the firearms and magazines in the future as our setup changes. Slatwall tends to be the perfect solution for DIY gun rack plans if you want to adjust it in the future.
Step 3. Gather the Supplies
To build our closet door gun wall, we used the following:
Door Hinge with Non Removable Pin
[3] 50"x1"x1/8" Cold Rolled Steel Bar (Find at hardware store or local metal supplier)
Basic tools: Drill, saw, screwdriver, allen set, Sharpie, tape measure, hacksaw, grinder or file, double-stick tape
Step 4. Secure the closet
We chose to add some security features to keep our firearms secure in the closet. We chose to add the biometric doorknob linked above for quick access. If you don't trust the fingerprint locks, you can choose a standard lock or a digital keypad lock for peace of mind.
Because our hinge-pins are on the outside of the door, it is also a good idea to swap out the hinges for ones with non-removable pins to create a more secured door.
These changes won't make the closet into a gun safe, but will make it at least as secure as a standard gun cabinet. If you want to go even further, consider installing a more secure door, false wall panel, a secondary locking mechanism, or even a small motion detector and alarm system. It is all up to personal preferences how far you want to go with your project!
Step 5. Build The Structure
-
The first thing we did was to install the L-brackets to the steel bars. This was simply done by marking the hole locations, and drilling and tapping the bars to receive the 10-24 screws. Make sure you add some washers for a better grip.


-
For the slatwall build on the back of a closet door, we used a table saw to cut one of the panels in half. If you don't have a table saw, you could use a circular saw, or even a hand saw.


-
Once cut, mark and drill 9 holes on each half-panel, where the screws will be attached to the steel support bars from the first step.
-
After carefully lining the two half-panels up, lay the steel bars below the hole locations, and mark where the screws should be drilled in the next step.
-
Remove the bars. At each marked location, use your drill and tap to thread the holes for the screws. (It's a great idea to add some oil to lubricate the tap!)

- Now, lay the half-panels back on the bars, and line up the hole locations

-
Add screws to all 18 holes with fender washers. I chose to spray paint my washers black to match the black screws I was using.


- Once everything is straight and level, fully tighten all screws. Be sure that the tops of the L-brackets are lined up so that they all sit level when installed on the door.
- Now that all the screws are tight. Flip the assembly over and use a grinder to remove any excess screw threads. This way, the whole thing will sit flush against the door. If you don't have a grinder, this can be accomplished with a hack saw and file.


-
Using a hacksaw or grinder, cut the L-bracket shorter to only have a single screw hole. Use a countersink bit to allow a screw to sit flush in this top mounting hole.


- With that, the slatwall door storage is done! Add some small pieces of double stick tape to the back of the bars. This tape will not hold any weight, but it keeps the slatwall from swinging when you open the door.

- Mount the slatwall on the inside of the closet door and use screws to attach the L-brackets to the top of the door. The weight of the firearms will be distributed along the three steel bars, and finally to the door itself. The three screws on top do not hold weight, they simply keep the assembly attached.

Tips For Mounting Your Firearms in Your Closet

Now that your slatwall closet gun storage is completed, you can mount your Rifles, Shotguns, Pistols, Magazines, Silencers, and anything else you want in this small space! Secure behind tamper-resistant hinges and a locking doorknob, this closet gun safe is one of the best places you can keep your firearms!
The slatwall is convenient because it allows you to test locations and move them as you expand your collection, and does not rely on wall studs.
Try locating all your magazines together in one section of the closet display. Alternatively, you can mount matching firearms and their mags together for easier access!
When mounting your firearm collection, consider the environment they will be in. If you are storing them in your basement or against an exterior wall, it would be a good idea to install a safe dehumidifier to keep everything rust free.
As an Amazon Associate I earn from qualifying purchases.
Categories
Let customers speak for us
from 1941 reviews
Good quality and it works.

They work great. I will buy more when the time comes.

Nice mount. Gets the job done.

Solid mounts look great and hold up guns with wuite a fee attachments

This is an awesome product, I ordered a second one.

Makes the MK25 look nice. Great way to display this particular handgun with the US Navy Anchor on the left side of the slide as well as the military inventory QR code on the frame.
![Universal Rifle Mount [PAIR]](https://cdn.shopify.com/s/files/1/2627/8096/files/universal-rifle-mount-pair-446480_500x500.jpg?v=1742648211)
Works great!

Great products

Absolutely love the mount fits perfect and works like a dream.

Love these. Keep it loaded, ready to go.
![Universal Rifle Mount [PAIR]](https://cdn.shopify.com/s/files/1/2627/8096/files/universal-rifle-mount-pair-446480_500x500.jpg?v=1742648211)
Very ingenious design on the rifle mounts, they close and wrap the rifle ends securely.

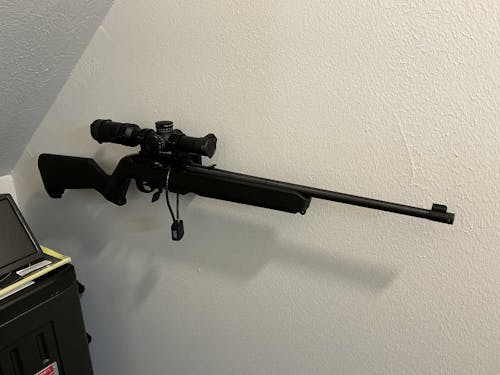
The build of the mount is very good and it fits perfectly in the 10/22. Easy to mount to the wall using the supplied hardware (I went directly into a wall stud). I leveled the mount, tightened the screws and snapped the 10/22 in place. I like that the mount is made to incorporate a cable lock. Looks great and secure!!

Like these a lot

With how I’ve mounted them for now, they are great!

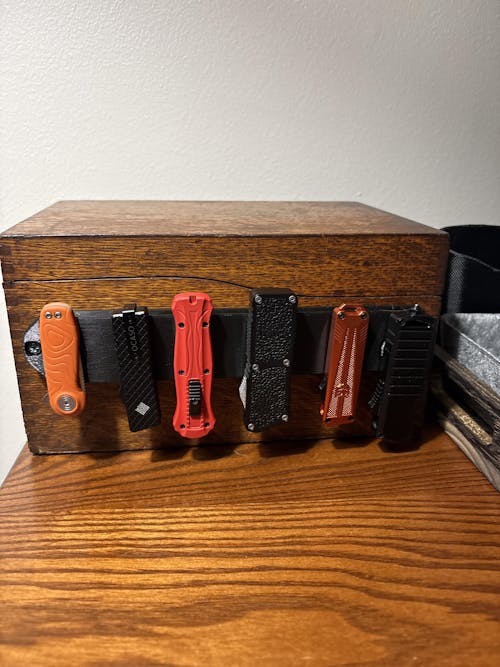
A great way to display my knives!
